Layer Images Using ImageMagick
For one of my webapp projects I’m needing to layer two images. This isn’t a problem on my laptop – I just fire up GIMP, do some copy ’n pasting, and I’m done. However, since everything needs to be automated (scripted), and on a server – well, you get the point.
The great ImageMagick toolkit comes to the rescue. This is highly documented elsewhere, so I’m going to be brief.
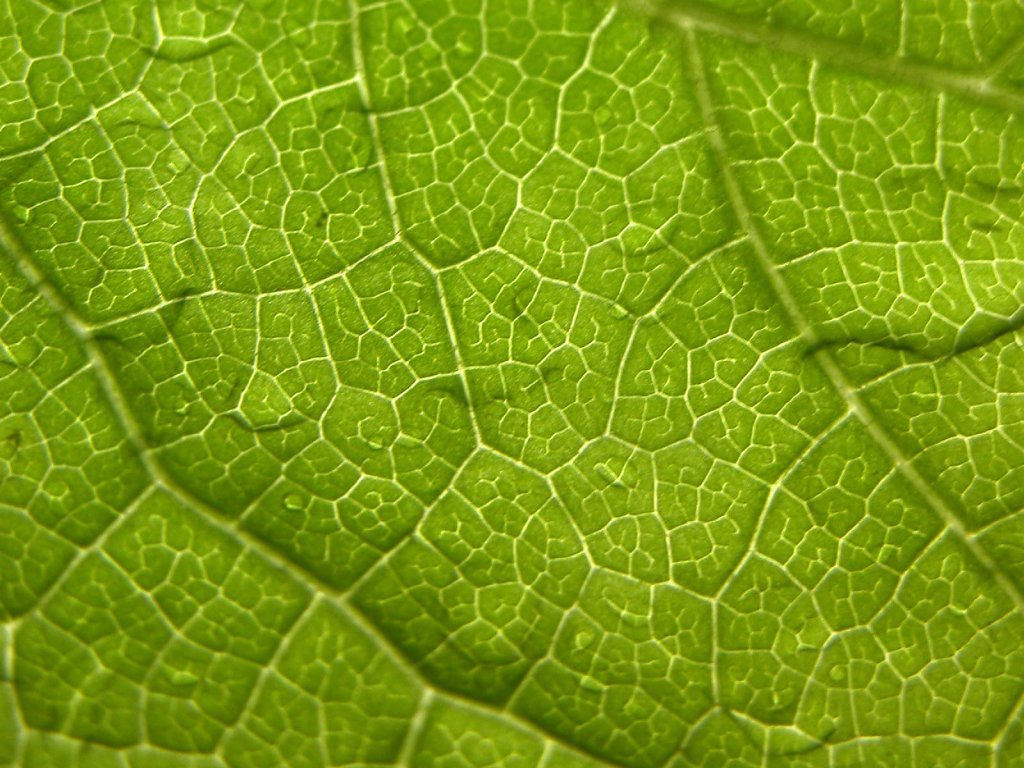
Take this:
And add it to this:
I first tried to use the following technique:
convert bg.jpg -gravity center world.png -composite test.png
This generated a pretty picture, what I wanted. What I didn’t want was the fact that the picture was freaking 1.5 megs large, not to mention the resources were a little high:
real    0m7.405s
user    0m7.064s
sys     0m0.112s
Next, I tried to just use composite.
composite -gravity center world.png bg.png output.png
Same results, although the resource usage was just a tad lower. So, what was I doing wrong? I explored a little and realized I was slightly being a muppet. I was using a bng background that was 1.2 megs large (long story). I further changed the compose type to “atop,” as that is what appeared to have the lowest resource usage. I modified things appropriately:
composite -compose atop -gravity center world.png bg.jpg output.jpg
This also yielded an acceptable resource usage.
The result:
