Testing SMS Gateways

For one of my projects I’m testing an SMS gateway, and decided it would be fun to build a useful alarm clock out of it. For those of you who know Python, you may find this funny. /dev/ttyUSB0 is my Arduino with a temperature sensor.

import serial
import urllib2
 
def check_temp():
    ser = serial.Serial('/dev/ttyUSB0', 9600)
    t = ser.readline().strip()
    return float(t)
 
    t = check_temp()
    if int(t) < 8:
        message = "It+is+now+%f+degrees;+chuck+a+sicky." % t
        f = urllib2.urlopen('http://api.clickatell.com/http/sendmsg?user=johnd&password=p@55w0rd&api_id=2132867&from=61433735555&to=61433735555&text=%s' % message)

```bash

And in crontab:

```bash
45 6 * * * python /opt/scripts/temp_alarm.py

Arduino 101

Tonight, I’m proud to say, I’ve returned to childhood. Let me explain.

OK, fun over, back to work.

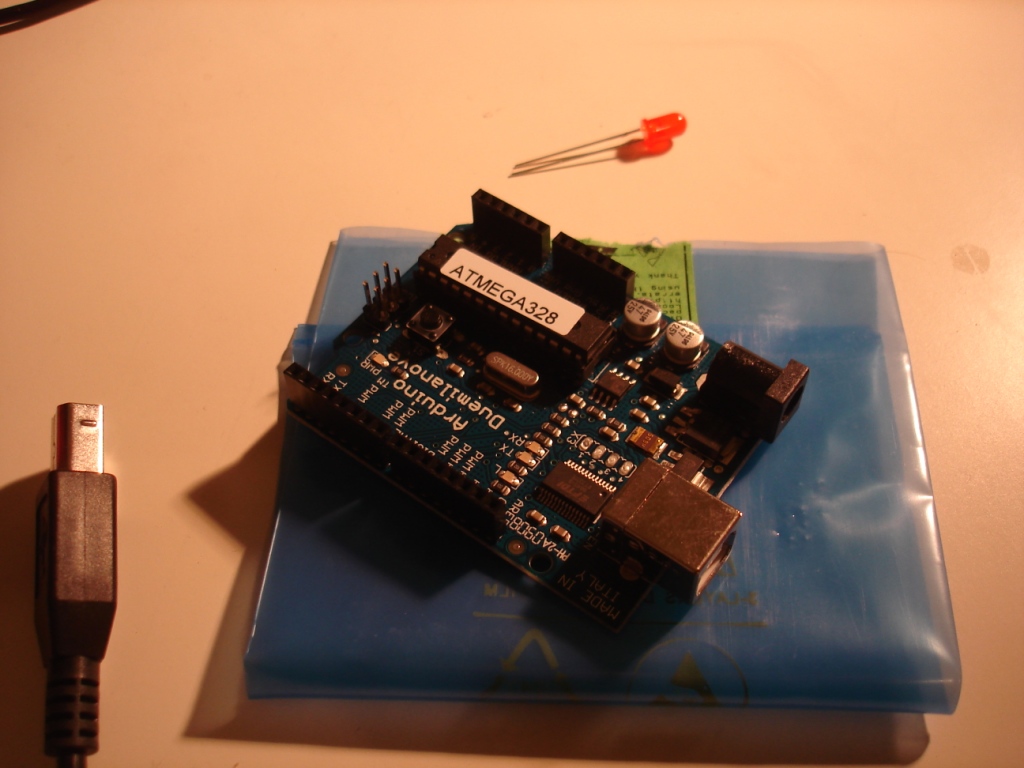
For the last year I’ve been wanting to purchase an Arduino, for no other reason than to play with. Like a kid. My Arduino arrived two days ago. This is a story of problems, but not the pull-your-hair-out type, more the… like when you run out of gas in the middle of Sydney. Going to your Christmas dinner. In your friend’s car. Long story.

As a kid I never really learned about electronics. I took apart anything broken my parents set downstairs (and put back together the microwave I dismantled that my parent were going to give to my sister as a gift). But no electronics. I had a computer of some sort from when I was a wee kid, but not a single electronics kit, or not one I can remember.

I soon realised I forgot to order a few resistors needed for the various sensors I purchased. This morning before work I stopped by the local electronics store, and like a kid in a candy shop, ordered $1.60 worth of resistors and LEDs.

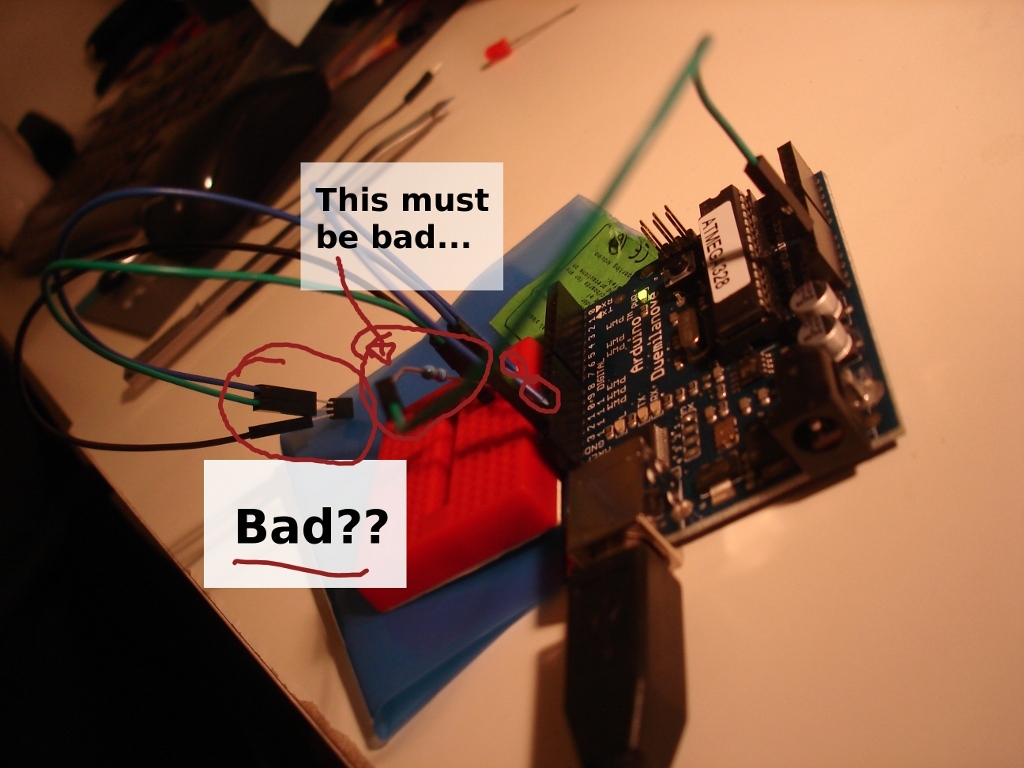
Just after coming home and eating insanely good Indian with YS, I set out to get an LED blinking. Without too many troubles, success! I graduated myself to the next grade and pulled out the temperature sensor. I looked at the ‘special’ wires I bought to connect to the sensor and the breadboard, and I soon realised I actually purchased the M->F wires instead of the assorted pack. I started looking around for cables I could cut.

Spare USB cable, no. Telephone cable, maybe. I realised I could just slice up one of the cables and see if it worked. The cables were braided instead of solid coper, which sort of made my hopes sink, but it was too late now.

I soon wired everything together as the various forum posts suggest, plugged it in to my laptop, started the Arduino software, and loaded the Dallas Temperature Library, and - “Invalid CRC”. I pulled the wires off, stripped a little more cabling off, plugged it back in, and tried again. It worked! I don’t really know if the temperature is correct or not - we don’t have any other way to measure it - but at this point, until I put in some more robust wires, I don’t really even care.

Overall, I’m happy. I’ve created two simple physical computing missions, and wrote two blog entries, in well under two hours. This has been quite a relaxing break from the other duties in life. I plan to make the little system ‘proper’ (more robust), and link it to my mini server. I’ll then create a simple chart (via Google’s API) to display on this website.
OK, fun over, back to work.

Simple Arduino + LED Tutorial

For this you’ll need: an Arduino, an LED, a USB cable, and the Arduino software.

  1. Get the LED, and plug it in to your Arduino. Plug in the long end to pin 13, plug the short end to the GND.
  2. Plug in the Arduino into your laptop. Go to Tools->Serial Port. Choose the USB port that appears.
  3. Take the code from the BlinkingLED tutorial and paste it in to the arduino like so:

  1. Hit File->Upload to I/O Board.
  2. Hit (physically) the little reset button. Voila! a blinking LED!

Operation Cold House

Status: ✅

My house is cold. I want to start playing with simple electronics before starting Operation Field, so have created Operation Cold House.

This is just simply sticking a temperature sensor onto an Arduino, linking that up to my little home “server”, and uploading that to my website. I’ll display some nifty graphs, too, and link it to Pachube. Stay tuned.

Update: Complete! The proof is in the pudding. I now have a personal website from home (sorry, not public) that displays the daily and weekly temperature at home. The process is basically like this: my little Arduino gathers the temperature, and is polled every minute with a python script via cron. This script then sticks the time and temperature into MySQL. It also exports the temperature to Pachube. Every 30m I have a script that queries MySQL and uses Google’s Chart’s API to graph the temperature. Looks great, I’ll post a graph soon.

Operation Field

Status: ❌

It is time for a new project. I’ve finally decided I want to do some electronics stuff - at least play around in that realm a little. However, I want to “get out and about” a little as well, so this leads me to my idea: a controllable long-range RC plane.

I’ve been debating whether to go the embedded Linux route, or the more simple microcontroller route. One of the first things I stumbled upon was ArduPilot, a cheap Arduino-based board allowing for a UAV. However, after looking through the requirements I would have needed to purchase an RF transmitter, and they aren’t cheap. This made me rethink the ArduPilot route and to evaluate what I really wanted to do: control the plan. My ultimate goal is to attach a joystick to my computer and be able to control the RC plane. This presents another problem with the ArduPilot, however, as there isn’t an extra Rx pin available on the ArduPilot board (or so the forums say), I wouldn’t be able to transmit coordinates on the fly.

After much research, I think I’ve determined what I’m going to do. I’m ultimately going to adopt the best parts of the ArduPilot, and fill in the gaps with my own board. I’m going to take an EasyStar, combine it with an Arduino Mini, Xbee, XY Sensor, GPS module, servos, H-bridges and a custom PCB, and hope it works.

One thing I’ve learned from YS is to stage our the things I buy. For instance, instead of signing up for a year at a local gym, try a month first. This project won’t be any different, and while most of the equipment is very reasonably priced, I still want to make sure I enjoy this type of thing. The first stage is going to be to buy the Arduino Mini, breadboard, servos and h-bridge (and a cheap DC motor), and see if I can get it all working. If I can, I’ll buy the EasyStar and see if I can control it with a joystick. If still successful, I’ll acquire the Xbees and GPS module - and these represent the majority of the cost.

Another element I’ve considered is how to visualize the RC plane flying around. I had contemplated looking into using Google Earth, but I’d really prefer to use a free variant. I also want to strengthen my Java knowledge, so have opted to use the SDK for WorldWind. I was very excited to see that they also have support for OSM, which is just spectaculous. I plan to have a HUD that on the right displays the plane’s location in WorldWind, and on the left display current altitude, tilt and RF strength. Since I’ve been flying through a book on Processing, this looks like a perfect real-life opportunity to use it.

I’m likely to start putting my money where my mouth is in the next two weeks.